

DIY Guide: Changing or Refilling Brake Fluid At Home
DIY Guide: Changing or Refilling Brake Fluid At Home
When it comes to vehicle maintenance, few things are as crucial as your braking system. Properly functioning brakes ensure your safety on the road, making it essential to keep them in top condition. One key aspect of brake maintenance is regularly changing or refilling brake oil (brake fluid). This guide will walk you through the steps to change or refill brake oil at home, saving you time and money while ensuring your vehicle's safety.
Step 1: Gather Your Tools and Materials
Before we start, make sure you have the following things:
- Brake fluid (specified by your vehicle's manufacturer)
- Jack and Jack stands
- Wheel chocks
- Wrenches
- Turkey baster or brake fluid pump(don't worry, it's for the fluid)
- Clear plastic tubing
- Clean cloth or rag
- Safety goggles and gloves
Step 2: Choose the Right Brake Fluid
Different vehicles require different types of brake fluids, so it's crucial to consult your owner's manual to determine the correct type and specification. Brake fluid comes in different classes, such as DOT 3, DOT 4, and DOT 5. Always use the recommended brake fluid to ensure optimal braking performance.
Step 3: Ensure Safety Precautions
Safety should be your top priority. Park your vehicle on a level surface, engage the parking brake, and chock the wheels to prevent any accidental movement. Also, wear safety goggles and gloves to protect your eyes and skin from brake fluid contact.
Step 4: Raise the Vehicle and Locate the Brake Fluid Reservoir
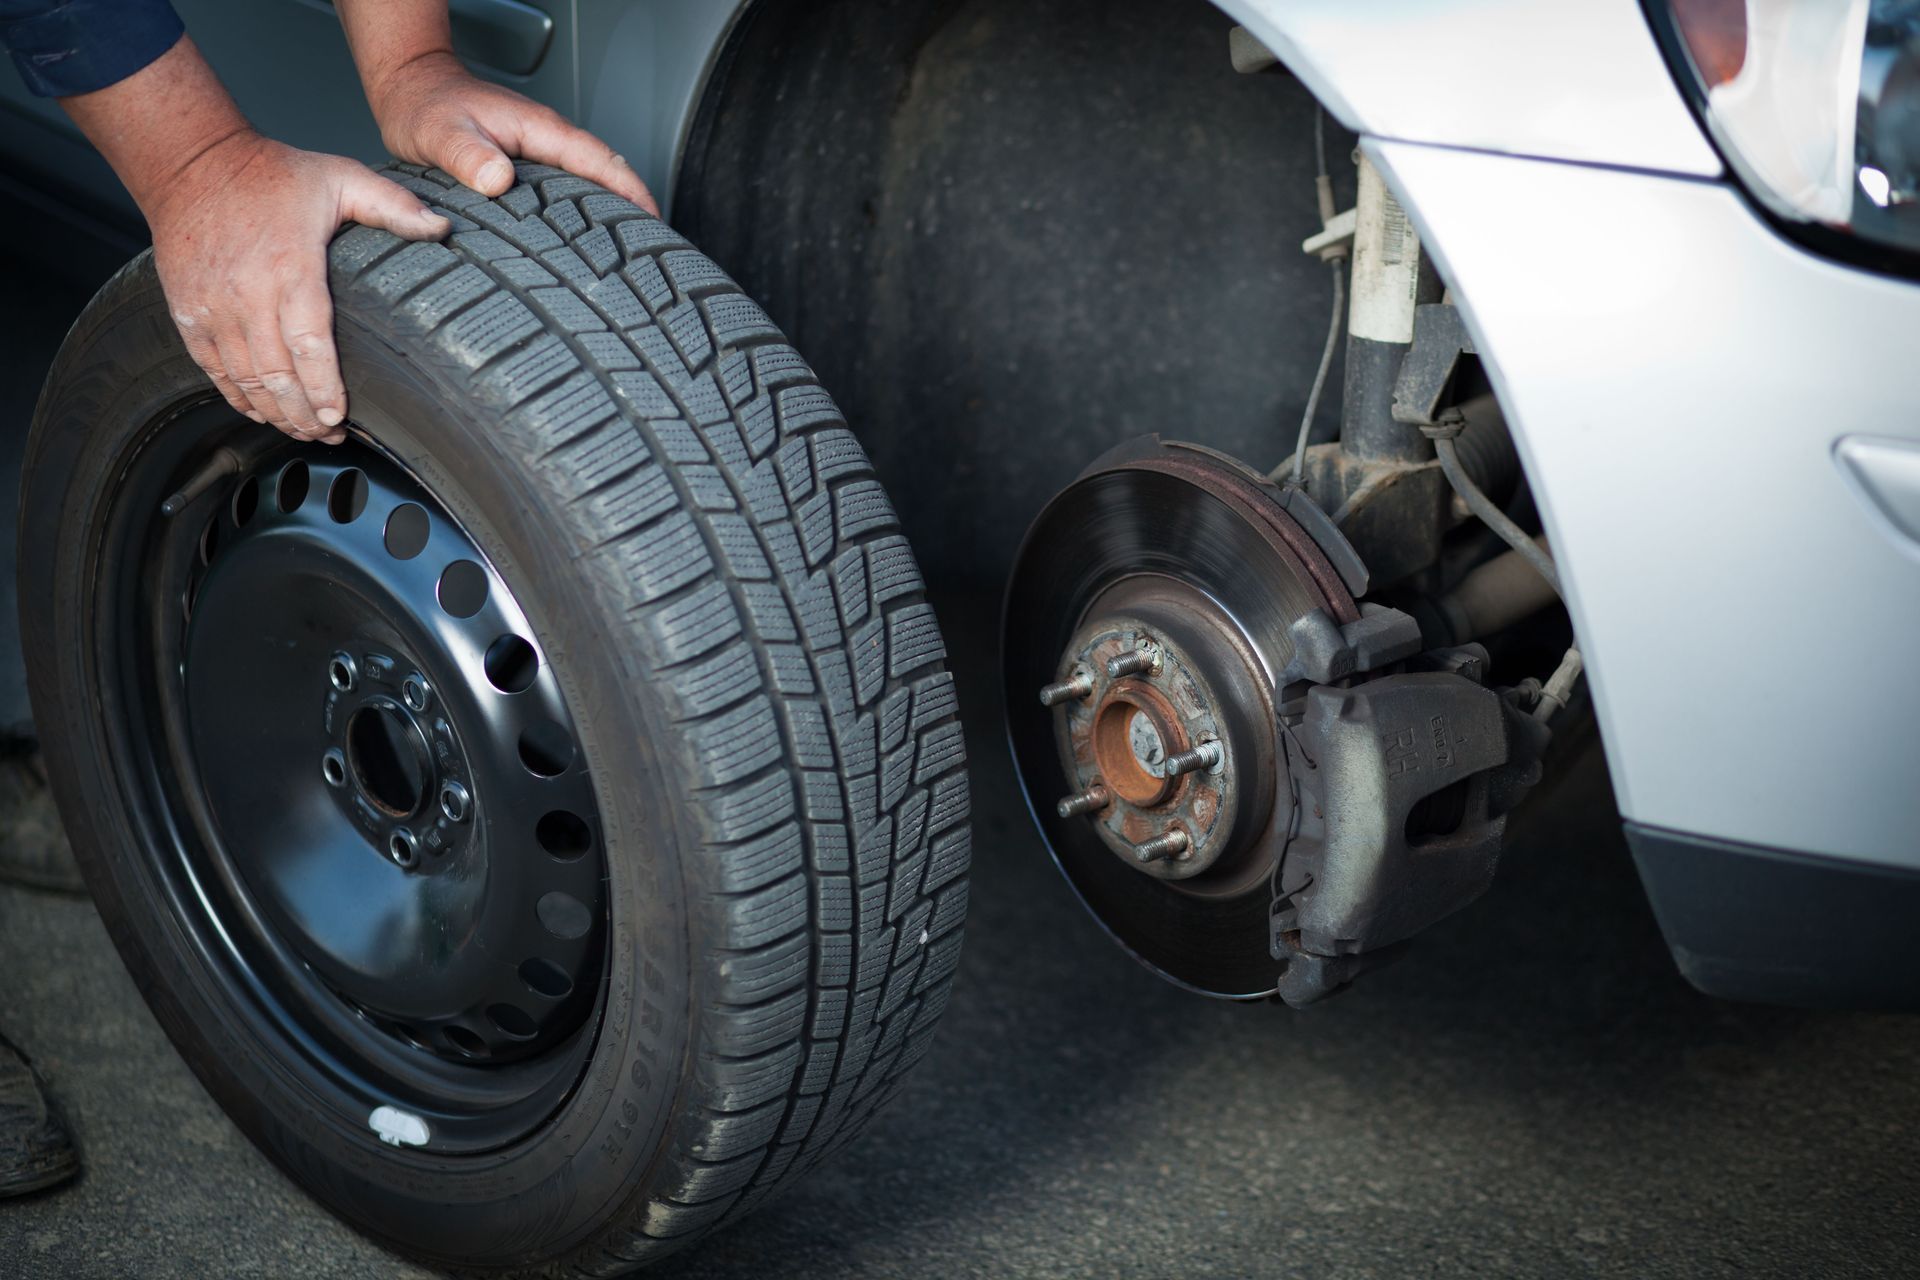
Use a jack to lift the vehicle off the ground and secure it with jack stands. Locate the brake fluid reservoir, which is typically near the firewall on the driver's side of the engine compartment. The reservoir is usually translucent, allowing you to see the fluid level easily.
Step 5: Prepare for Fluid Extraction
Before proceeding, clean the area around the reservoir to prevent any dirt or debris from entering the system. You'll want to avoid any contamination of the brake fluid.
Step 6: Extract Old Brake Fluid
Use a turkey baster or a brake fluid pump to remove as much of the old brake fluid from the reservoir as possible. Dispose of the old fluid in accordance with local regulations.
Step 7: Refill with New Brake Fluid
Slowly pour the new, manufacturer-recommended brake fluid into the reservoir until it reaches the "MAX" or "Full" line. Avoid spillage and overfilling, as this can cause issues in the braking system.
Step 8: Bleed the Brakes
If you're changing the brake fluid due to a brake system repair or as part of a maintenance routine, it's a good idea to bleed the brakes to remove air bubbles from the brake lines. This process might require assistance from a second person. Refer to your vehicle's manual for specific bleeding procedures or a YouTube video to ease the process.
Step 9: Check for Leaks and Secure the Reservoir Cap
After refilling the reservoir, inspect the area for any signs of fluid leakage. If everything looks good, secure the reservoir cap tightly.
Step 10: Lower the Vehicle and Test the Brakes
Carefully lower your vehicle from the jack stands and remove the wheel chocks. Start the engine and gently press the brake pedal a few times to ensure proper fluid circulation. Make sure the pedal feels firm and responsive.
Congrats, you did it! Or did you? Well, if you are stuck in the middle of things or this DIY project seems like too much for you, we don't blame you! Make sure to contact us at Ice Creams Wheels and Tires!